| Step 1 Here is our subject, the Typical Anime Girl, or Tammy for short.
Tammy was draw on plain white paper and scanned in black and white. | 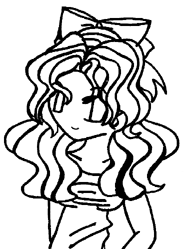 |
| Step 2 Now your colour palate is used. Fill in the base colours--- the coloursyou want her to be displayed in. Don't worry about those little pin-pricksof white or grey you might get in small areas. Simple, huh? | 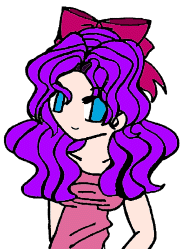 |
| Step 3 For those of you who have a magic wand tool (I do in Adobe Photoshop4.6), use it to highlight the FRONT PARTS of her bangs and the hair directlyaround and above her face. These tresses are the ones that will stand outmost in the light. This is important.
Using light applications of the airbrush tool, follow the odd blackline here and there with a darker shade of the base colour.
(don't remove the marquee [selection] on your area quite yet) | 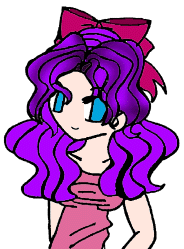 |
| Step 4 Still with the same parts of her hair selected, follow the major curvein her bangs; the part where MOST of the light would hit if she were 3d.Make this line, like the ones you used above, light in pressure, and usewhite or a lighter shade of the base colour.
(you may remove the marquee now) | 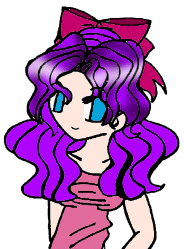 |
| Step 5 Now, using your magic wand tool, select the other parts of hair DIRECTLYON HER HEAD that you didn't shade. These pieces, since they're in the backof her, are darker. Not as much light will hit them, so all you need todo here is go over with the darker shade of the base. | 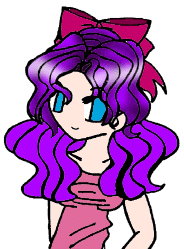 |
| Step 6 Repeat steps 3-5 with the strands of hair that fall down the way. | 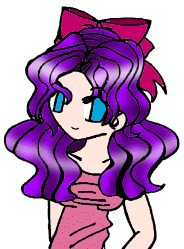 |
| Step 7 Repeat steps 3-5 with other items that may be on her head (like thebow seen here, or a hat, or hairbands). | 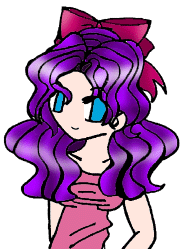 |
| Step 8 Now, moving away from her hair, we have her clothing. Select the shirt.Follow the crease-lines in the shirt with the airbrush, again, with a darkershade and keeping pressure light. Also, accentuate the curve of her breasts(yeah, yeah, I said it) by using a soft boat-shaped stoke below them. | 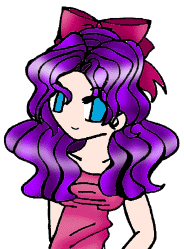 |
| Step 9 Using a lighter shade of the shirt base, put a very soft dab of highlightto where the light hits. | 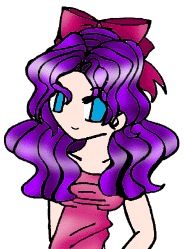 |
| Step 10 Here's where you can REALLY mess up if you're not careful. Select allthe places where her skin is visible in the image with the magic wand tool.Choose a darker shade of the base colour, and carefully shade where thelight won't hit as much (such as the part of her face that is turned slightlyaway from you, under her hair, around her neck and collarbone). Keep thestrokes light at all times. Don't over-do it. | 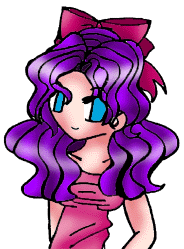 |
| Step 11 Select and shade her eyes in whatever style you're comfortable with.I just use a darker shade of the base airbrushed lightly around the centerand top of the iris, and then highlights with a harder pressure in white. | 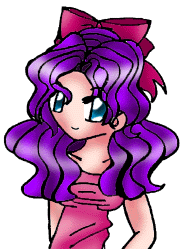 |
| Step 12 (the final step!) Now all there is to do is eliminate those little bits of white or greygrit that you just didn't feel like going out of your way to colour. Asimple way to get rid of them without taking a whole lot of time? Go overthem with your line tool in black. That's right.
And now, we're done. | 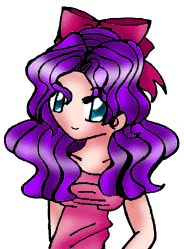 |